Address
No. 3F07, Tao Cube, No.68, CCIH, Jihua West Road,Chancheng District, Foshan City, Guangdong, China.

how to design with large-format tile | Contigo Ceramics

Introduction to Designing with Large-Format Tile
Knowing how to design with large-format tile is becoming essential for architects, contractors, and homeowners aiming for a seamless, modern aesthetic. These oversized slabs minimize grout lines and create a sense of expansive space, making them a top choice for floors, walls, and even shower enclosures. At Contigo Ceramics, we manufacture large-format porcelain tiles directly from our Foshan factory, offering unmatched quality at factory-direct prices.
Large-format tiles, typically defined as having at least one side longer than 60 cm, are not merely a trend but a functional solution for reducing maintenance and achieving clean lines. Whether you are designing a retail showroom or a minimalist living room, understanding the technical and aesthetic principles is critical. This guide will walk you through how to design with large-format tile from planning to installation, leveraging our decades of production experience.
“Oversized tiles reduce grout joints by up to 70% compared to standard square tiles, creating a cleaner, more monolithic surface that is easier to clean and maintain.” — Ceramic Tile Institute
Key Takeaways
- Plan tile layout and pattern on paper or software before cutting to minimize waste and visual imbalance.
- Use proper surface preparation and a flat substrate; large-format tiles will reveal any imperfections.
- Employ a tile leveling system to prevent lippage and ensure a flush surface.
- Select rectified large-format tiles for tighter grout joints and a more seamless finish.
- Always order 10-15% extra for waste during cutting and layout adjustments.
Defining Large-Format Tile: The Specification Guide
To master how to design with large-format tile, you must first understand what qualifies as “large format.” According to industry standards, a tile is considered large when at least one side measures 24 inches (60 cm) or more. Common sizes include 12×24, 24×48, and even 32×60 inches. The physical dimensions directly impact both the visual outcome and the installation technique.
At our Foshan facility, we adhere strictly to ISO 10545-2 for dimensional accuracy. This standard ensures that each tile’s length, width, and thickness fall within tight tolerances, which is essential for a flush installation. For designers, these metrics translate into a product that allows for 1/16-inch grout lines, creating that coveted seamless look.
We recommend specifying factory-rectified large-format tiles from our catalog if your project demands precision. Rectification involves cutting the tile edges after firing to achieve exact 90-degree angles, which is a prerequisite for narrow grout lines. Non-rectified tiles may have slight size variations, which can be acceptable for rustic designs but not for modern minimalism.
Key Specifications for Large-Format Tiles
- Dimensional Tolerance (ISO 10545-2): ±0.5% for length/width, ±0.3 mm for edges
- Water Absorption (ISO 10545-3): ≤0.5% for porcelain (vitrified)
- MOHs Hardness (ASTM C648): ≥7 for residential, ≥8 for commercial
- Recommended Thickness: 8-10 mm for floors, 6-8 mm for walls
Planning: Layout Strategies for 24×48 Shower Wall Tiles
One area where competitors often fall short is providing actionable layout strategies for 24 x 48 shower wall tiles. Unlike standard subway tiles, large slabs require careful alignment with plumbing fixtures, niches, and corners. Starting from the center of the wall and working outward is a reliable method, but it requires pre-measuring to avoid narrow cuts at the edges.
For a 24×48 tile in a shower, we strongly recommend a vertical or horizontal offset of 33% (a “brick lay” pattern) rather than a 50% offset. A 50% offset can highlight any slight cupping in the tile, creating a “step” effect. The 33% offset distributes the stagger more naturally. Additionally, consider running the tile continuously from the shower wall into the floor for a dramatic monolithic effect—a technique often seen in luxury hotels.
At Contigo Ceramics, we provide free layout diagrams for every order over 500 square meters. Our technical team uses your exact wall dimensions to generate a cutting plan that minimizes waste and ensures symmetry around fixtures. This kind of support is standard when you buy factory-direct; larger manufacturers rarely offer this service for small-to-medium projects.
Installation: A Complete Guide to Setting Large-Format Tiles
After covering design, we need to address how to install large format tiles – a complete diy guide. While professional installation is strongly recommended for tiles larger than 24×24, understanding the process helps you vet installers and avoid costly mistakes. The foundation of any successful large-format installation is a perfectly flat substrate.
Start by checking the floor or wall for flatness using a 6-foot straightedge. Any deviation greater than 1/8 inch over 10 feet must be addressed with self-leveling compound or grinding. Large-format tiles are rigid and will not conform to substrate irregularities, leading to lippage (one edge higher than its neighbor).
Step-by-Step DIY Installation Process
- Mix your thin-set mortar: Use a medium-bed mortar (not a standard thin-set) to allow for some thickness variation. Mix to a creamy, peanut-butter consistency.
- Apply mortar to substrate: Use a 1/2-inch notched trowel held at a 45-degree angle. Work in small sections to prevent skinning.
- Back-butter the tile: Apply a thin layer of mortar to the back of the tile using the flat side of the trowel. This ensures 100% coverage, critical for avoiding hollow spots and breakage.
- Set the tile: Press the tile into the mortar with a slight twisting motion. Use a rubber mallet to tap it level.
- Use a leveling system: Insert clips under the tile edges before setting the next tile. Tighten the caps after both adjacent tiles are set. This eliminates lippage.
- Allow to cure: Wait 24-48 hours before grouting. Use an unsanded grout if your joint is 1/16 inch or smaller; a sanded grout for joints up to 1/4 inch.
“The greatest mistake DIY’ers make with large-format tiles is insufficient mortar coverage. Always back-butter. A hollow-sounding tile will eventually crack under foot traffic.” — Technical Bulletin, Tile Council of North America (TCNA)
Patterns and Design Ideas for Polished and Matt Finishes
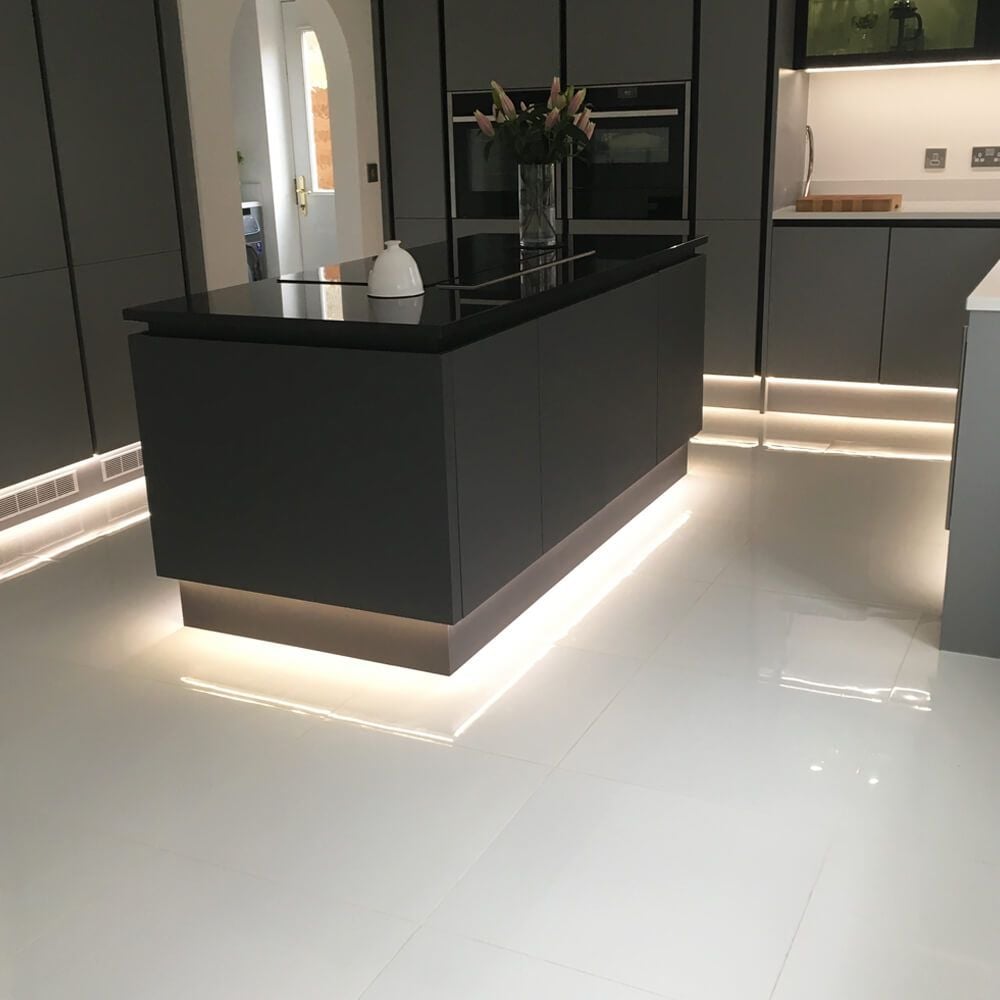
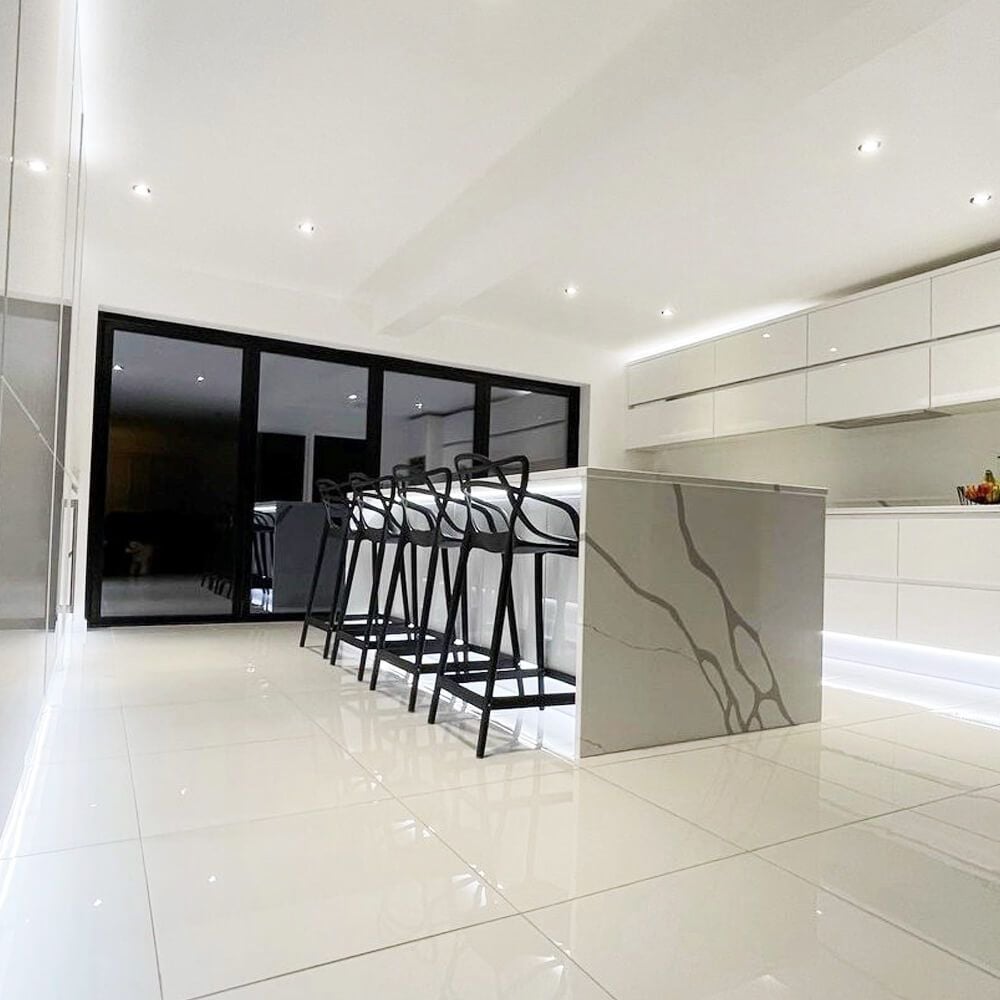
Knowing how to design with large-format tile also means selecting the right surface finish. Polished porcelain tiles offer a high-gloss, reflective surface that amplifies light and is popular in luxury bathrooms and lobbies. Matt or satin finishes are better suited for high-traffic areas where slip resistance is a concern, such as kitchens or commercial corridors.
Our polished large-format tiles undergo a heavy-duty rectification process to maintain crisp edges even at a 60×120 cm size. For outdoor applications, we recommend 20mm-thick outdoor-rated tiles with a textured or matte finish to meet slip-resistance standards. The key is to match the finish to the intended use while maintaining the same color palette across different zones.
Designers often ask about mixing sizes. A popular strategy is to use 24×48 tiles in the main field and 12×24 tiles as a border or accent band. This creates visual interest without sacrificing the seamless flow. When mixing, ensure both sizes are from the same collection to guarantee a color match and consistent rectification.
Overcoming the Top 3 Challenges in Setting Large Floor Tiles
Many installers find how to set out and fix down large floor tiles daunting, but with the right preparation, it’s manageable. The three main challenges are lippage, mortar coverage, and cutting. We’ll address each directly.
1. Eliminating Lippage
Lippage occurs when one tile edge is higher than the adjacent tile. For large-format tiles, even 1/32-inch of lippage creates a trip hazard and a visible shadow line. Use a tile leveling system with clips and wedges. At our factory, we test every batch against ANSI A108.02 standards for lippage. A systematic approach to leveling during installation is non-negotiable.
2. Ensuring Full Mortar Coverage
When you hear a hollow sound after tapping, it means the mortar isn’t fully bonded. This can cause tiles to crack under point loads like furniture legs. Use a medium-bed mortar and back-butter each tile. Pull up a tile occasionally to check coverage—aim for at least 95% coverage for floors, 90% for walls.
3. Precision Cutting
Cutting 24×48 tiles requires a wet saw with a 10-inch blade at minimum. Pre-soaked tiles cut cleaner. For odd shapes like L-cuts for piers, a handheld grinder with a diamond blade works best—but practice on scrap first. Always score the face first, then snap over a straight edge.
Trends: Matching Large-Format Tiles with Modern Interiors
The current design market demands tiles that mimic natural stone, concrete, or wood but without the maintenance. Our glazed large-format tiles achieve this through high-definition inkjet printing. The crisp images, combined with a rectified edge, produce an incredibly realistic surface. This is a key part of how to design with large-format tile for contemporary spaces.
Another emerging trend is using large-format tiles on ceilings and countertops. This requires careful support and the use of a flexible adhesive approved for vertical surfaces. While more complex, the result is a seamless, monolithic look that eliminates countertop seams. Always consult the specific adhesive manufacturer’s guidelines for such applications.
Frequently Asked Questions
What is the best pattern for large-format tile installation?
The most popular patterns for large-format tile design are stacked (grid), 33% offset brick lay, and diagonal. Stacked offers a clean, modern look with minimal visual noise. Diagonal is dramatic but creates more waste. For shower walls, a 33% offset reduces lippage risk.
Can I install large-format tile over existing ceramic tile?
It is possible, but only if the existing tile is firmly bonded, perfectly flat, and clean. Apply a cementitious bonding agent before tiling. However, we recommend removal to achieve the flat substrate that large-format tile requires for a flawless result.
What thickness should I choose for large-format floor tiles?
For residential floors, 8-10 mm is sufficient. For commercial or outdoor spaces, 12-20 mm is required. Thicker tiles are more resistant to cracking under heavy loads but are also heavier to handle. 20mm is the standard for trafficable outdoor decking.
How much extra large-format tile should I order for waste?
Always order 10-15% extra. Large-format tiles can break during cutting or handling, and having a matching dye lot is essential. At Contigo Ceramics, we offer batch consistency guarantees across production runs for orders over 2000 square meters.
Do I need special tools for setting large-format tiles?
Yes, you need a tile leveling system, a wet saw with a minimum 10-inch blade, a 1/2-inch notched trowel, and a 6-foot level. For tiles over 48 inches, a tile lifter suction cup tool is highly recommended to avoid back strain and breakage.
Conclusion: Unlocking the Full Potential of Large-Format Tile
Mastering how to design with large-format tile opens doors to creating clean, modern, and high-value spaces. The key lies in thoughtful planning, precise substrate preparation, and the use of rectified, high-quality porcelain tiles. By choosing a factory-direct partner like Contigo Ceramics, you gain access to competitive FOB pricing, low MOQ options, and direct technical support from our Foshan facility.
We invite you to explore our full range of large-format tiles—available in sizes up to 3200x1600mm—and request a free sample pack or a virtual factory tour. Our team is ready to provide the guidance you need for your next project, from layout diagrams to installation troubleshooting. Contact our sales team today for a quotation and discover why architects and contractors worldwide trust Contigo Ceramics for their most ambitious designs.
Written by the Contigo Ceramics technical team, Foshan China.
(Visitors: please note that FOB pricing, MOQ, and factory audit availability vary by product line. Contact us for a formal proposal.)