Address
No. 3F07, Tao Cube, No.68, CCIH, Jihua West Road,Chancheng District, Foshan City, Guangdong, China.

How Contractors Install 20mm Porcelain on Pedestals: Step-by-Step Guide
Understanding 20mm Porcelain and Pedestal Systems
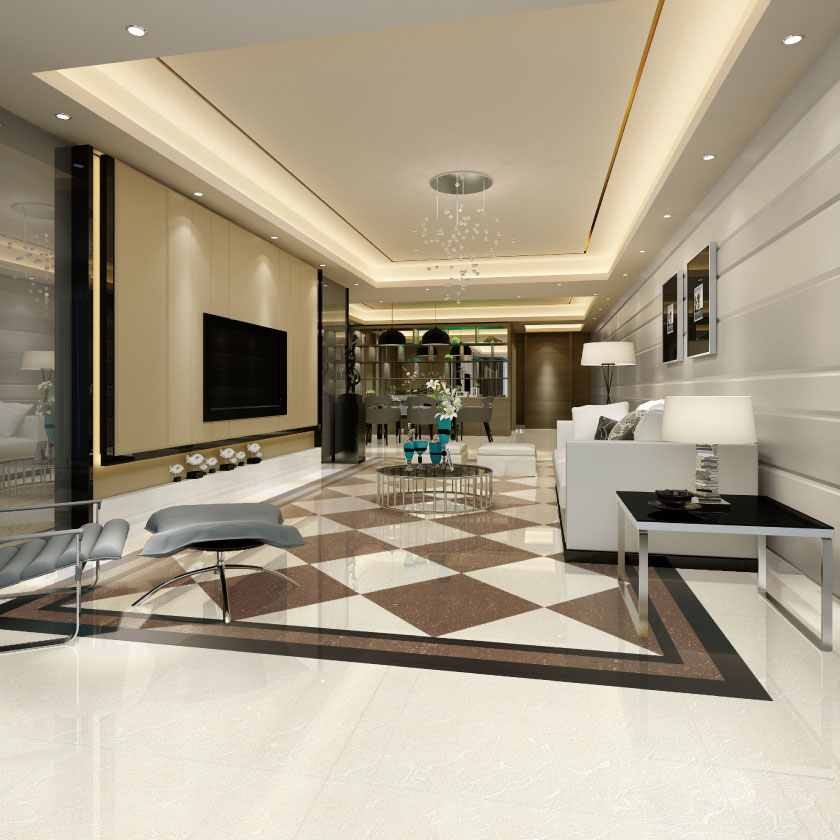
Before diving into the specifics of how do contractors install 20mm porcelain on pedestals, it is essential to understand the materials involved. 20mm porcelain slabs are thick, durable, and engineered to withstand heavy loads and harsh weather—making them the top choice for exterior flooring projects. The pedestal system is a raised support structure that eliminates the need for mortar or adhesives, allowing for quick, level installation over any surface.
What Makes 20mm Porcelain Ideal for Exteriors?
Outdoor tiles must handle temperature swings, moisture, and UV exposure without cracking or fading. 20mm porcelain offers a water absorption rate of less than 0.5%, making it virtually frost-proof. Its high breaking strength—often exceeding 35 N/mm²—means it can support furniture, foot traffic, and even occasional vehicular loads. Unlike thinner tiles, this thickness requires no additional reinforcement when laid on pedestals, which simplifies the contractor’s job.
The Basics of Pedestal Support Systems
Pedestals are height-adjustable supports that lift tiles above the structural slab. They come in fixed, self-leveling, and stackable varieties to accommodate slopes from 1% to 5%. A typical pedestal head includes rubber tabs or spacers that guarantee a uniform joint width—usually 3–5 mm. When contractors install 20mm porcelain on pedestals, they bypass the curing time of concrete or adhesive, cutting installation time by up to 40%.
“The shift toward pedestal installations has been one of the most significant time-saving innovations in hardscape contracting over the last decade. We’re seeing projects completed in days instead of weeks.”
— Jamie Cooke, Commercial Hardscape Specialist
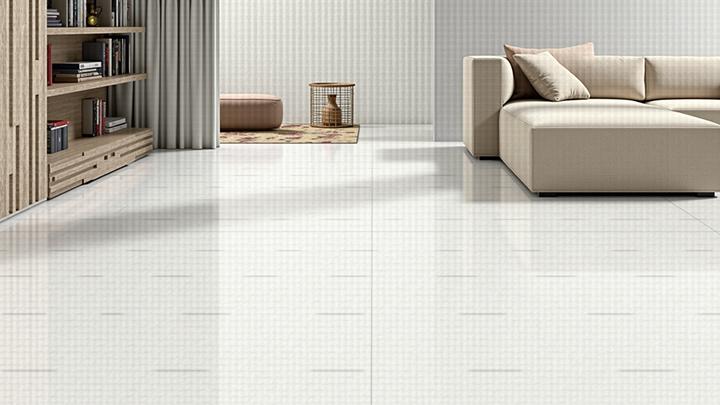
Manufacturers like Contigo Ceramics support this trend by producing precision-calibrated tiles that perfectly match the flatness requirements of pedestal heads. Our tile range at /product/category/tiles includes 600x600mm, 800x800mm, and large-format slabs up to 1200x600mm, all engineered for ventilated façades and raised floors.
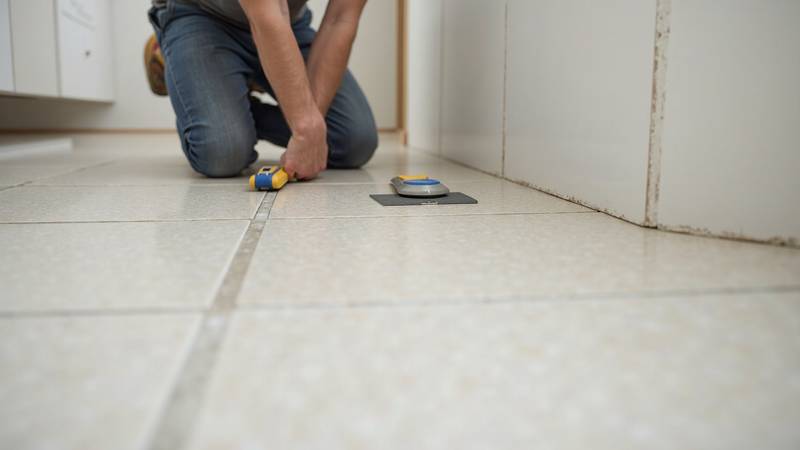
Pre-Installation Site Preparation
Proper site prep is where most of the craftsmanship lies. A contractor will first inspect the substructure—typically a reinforced concrete slab with adequate drainage. Any cracks or unevenness exceeding 3mm over a 2m level must be repaired, though pedestals can compensate for minor irregularities. The area is cleaned of debris, and a protective waterproofing membrane is often applied over the slab to protect the underlying structure.
Next comes layout planning. Contractors establish a grid using string lines or laser levels. This ensures tile joints align with architectural features and that cuts are symmetrical at borders. For a typical 20mm porcelain on pedestals project, they calculate the number of supports needed—normally one at every corner intersection, plus additional support at tile edges for larger formats.
Step-by-Step: How Do Contractors Install 20mm Porcelain on Pedestals?
The installation process follows a logical sequence that experienced crews can execute with remarkable efficiency. While the exact methodology may vary slightly by site, the core steps remain consistent whether you’re watching a balcony transformation or a vast plaza take shape.
1. Laying Out the Pedestals
Pedestals are placed directly on the prepared slab at predetermined intersection points. Contractors start from a fixed edge, usually the highest corner, and work outward. Each pedestal base is adhered to the deck with a dab of polyurethane adhesive to prevent movement from wind uplift. For large-format outdoor tiles, pedestals are sometimes supplemented with extra head pieces for longer spans.
2. Placing and Leveling the 20mm Porcelain Tiles
This is the moment that defines how contractors install 20mm porcelain on pedestals in practice. Tiles are lowered onto the pedestal heads, with the rubber spacers automatically maintaining joint width. Contractors then adjust the pedestal height by turning the threaded ring until the tile sits perfectly flush with adjacent pieces. A vibratory plate isn’t used; instead, a rubber mallet ensures full contact between tile and support head.
Plastic shims are used for micro-adjustments. Since 20mm porcelain tiles are rectified (cut to precise dimensions), the finished surface is virtually seamless. Workers continually check with a 2m spirit level across multiple tiles to prevent lippage. Any tile that rocks is immediately adjusted—this is where the skill of the installer shines.
3. Cutting Tiles for Edges and Obstacles
Perimeter tiles rarely land exactly where the grid ends. Contractors measure the gap, subtract the expansion joint (typically 5mm), and mark the 20mm porcelain with a wax pencil. Wet saws with diamond blades rated for porcelain are mandatory; dry cutting can cause micro-cracks that propagate later. Every cut edge is then chamfered to match the factory finish, preserving the overall aesthetic.
4. Securing and Finishing Touches
Unlike paver installations, pedestal-mounted tiles rely on gravity and the weight of the 20mm porcelain to remain in place. However, in high-wind zones, mechanical fixings such as wind-lock clips or aluminum edge restraints are added. Expansion joints are filled with a flexible, UV-resistant sealant. Finally, the entire area is cleaned with a pH-neutral detergent to remove construction dust, revealing the full depth of the porcelain’s surface texture.
Common Challenges and How Professionals Overcome Them
Even when following a flawless protocol, how do contractors install 20mm porcelain on pedestals on less-than-ideal sites? Several recurring obstacles demand creative solutions.
- Uneven substructures: Pedestals with self-leveling heads automatically adjust from 0% to 5% slope, but extreme undulations may require grinding down high spots or building up low areas with levelling compound.
- Drainage issues: The open-joint nature of pedestal systems allows water to drain instantly. Contractors ensure the slab beneath has proper falls to avoid ponding water beneath the tiles.
- Wind uplift: For tiles on high-rise terraces, contractors add tabbed clips that lock adjacent tiles together, or use heavier 20mm porcelain slabs that naturally resist lift better than thinner pavers.
- Tile breakage during cutting: Our factory at Contigo Ceramics pre-fabricates specials like step treads and edge pieces, reducing on-site cutting. For details, visit /about-us.
Benefits of Hiring Professional Installation Crews
While the pedestal system appears straightforward, the experience a trained team brings is invaluable. Certified contractors understand how to install large-format 20mm porcelain slabs on pedestals with zero lippage, how to calculate the correct number of supports per tile to prevent point loading, and how to interface with doors, drains, and facade cladding seamlessly. Their work carries warranties that protect your investment for years.
“A properly installed pedestal system with 20mm porcelain should easily last 30 years with minimal maintenance. The key is in the details—joints, edge restraints, and the right pedestal density.”
For commercial projects, timeline is everything. Professional teams can cover 80–120 m² per day, compared to 30–40 m² with traditional mortar-set tiles. This speed, combined with the improved safety of no wet trades, makes the pedestal method increasingly popular on specifier drawings.
Why Source 20mm Porcelain Directly from Contigo Ceramics
The performance of the final installation starts at the factory. As a China-based factory-direct supplier, Contigo Ceramics offers consistent calibration, tested breaking strengths, and a color range that stays uniform across batches. Every tile intended for pedestal installation is checked for diagonal squareness—critically important when relying on spacer tabs for alignment. By cutting out middlemen, we deliver porcelain tiles at a price point that helps contractors and developers maximize their budget.
If your team wants to know more about how do contractors install 20mm porcelain on pedestals efficiently, we can connect you with experienced project consultants. We also supply complementary products like pedestals, edge trims, and movement joint profiles. Check our latest case studies on the /blog to see these methods in action.
External Reference: ISO 10545 ceramic tile standards
Conclusion
Understanding how do contractors install 20mm porcelain on pedestals reveals a system built on precision, speed, and longevity. From the initial grid layout to the final height adjustment, every step eliminates the mess and delay of traditional mortar while delivering a perfectly flat, draining surface. For anyone specifying or managing an exterior project, this method represents modern best practice.
Ready to take the next step? Browse our range of 20mm porcelain tiles, or reach out to discuss your project requirements and get a factory-direct quote. Our team is ready to support your next installation—contact us at /contact and let’s build something lasting together.