Address
No. 3F07, Tao Cube, No.68, CCIH, Jihua West Road,Chancheng District, Foshan City, Guangdong, China.

bathroom tile repair | Contigo Ceramics

Bathrooms endure constant moisture, temperature fluctuations, and daily wear — which makes bathroom tile repair a common need for homeowners, contractors, and property managers alike. Whether you are dealing with a single cracked tile, loose grout, or water damage behind the wall, knowing how to approach the fix correctly saves time and prevents costly structural issues. At Contigo Ceramics, we supply factory-direct porcelain tiles that make replacements seamless — but effective bathroom tile repair starts with understanding the root cause and choosing the right restoration method.
Key Takeaways
- Identify the root cause of tile damage (impact, moisture, or installation failure) before starting any bathroom tile repair.
- Always keep spare tiles from your original installation to guarantee a color and size match during repairs.
- Small cracks and chipped tiles can often be repaired with epoxy or filler, but full replacement is best for structural integrity.
- Waterproofing and proper grout sealing are critical — bathroom tile repair that ignores moisture protection will fail again.
- Factory-direct sourcing (like Contigo Ceramics) ensures consistent quality and color across batches for seamless repairs.
- Hire a professional for large-area or waterproofing-related repairs; DIY works well for single tile fixes.
Understanding Common Bathroom Tile Issues
Before diving into any bathroom tile repair, you need to understand what caused the problem. Bathroom tiles face unique stresses: constant humidity, soap residue, thermal shock from hot water, and occasional impact from dropped objects. Each failure type requires a slightly different approach.
Cracked or Chipped Tiles
Cracks usually result from impact or subfloor movement. A single hairline crack can sometimes be filled with color-matched epoxy, but larger cracks demand full tile replacement. If the crack extends through multiple tiles, suspect structural issues beneath the surface — this is not just a cosmetic fix.
Loose or Hollow-Sounding Tiles
A hollow sound when tapping a tile indicates loss of bond to the substrate. This happens due to inadequate thinset coverage during installation or water infiltration over time. Loose tiles must be removed and re-set; simply regrouting around them will not solve the problem.
Grout Deterioration and Mold Growth
Grout is porous and often the first line of defense to fail. Once grout cracks or erodes, moisture seeps behind the tiles, leading to mold and further bond failure. Regrouting is a relatively simple bathroom tile repair that can dramatically extend the life of the installation.
When to Repair vs. Replace Bathroom Tiles
A critical decision in any bathroom tile repair project is whether to fix the damaged area or replace it entirely. The answer depends on the extent of the damage, the age of the installation, and whether you have matching replacement tiles available.
For single cracked or chipped tiles on bathroom floors or walls, spot replacement is cost-effective and efficient — provided you have an exact color match. The challenge arises when the original tile line has been discontinued or the color has faded unevenly over time. This is where factory-direct suppliers like Contigo Ceramics offer a distinct advantage: consistent color across production batches ensures your replacement tiles blend perfectly with the existing installation.
If more than 20% of the bathroom floor or wall area is damaged, full replacement often becomes more practical than repeated spot repairs. Similarly, if water damage has compromised the waterproofing layer, you must remove the affected tiles, repair the substrate, and install fresh waterproofing before re-tiling.
Step-by-Step Guide to Fixing Damaged Bathroom Tiles
The following steps apply to most bathroom tile repair scenarios involving single-tile replacement on walls or floors. Always wear eye protection and gloves when cutting or removing tiles.
1. Assess the Damage and Source a Matching Tile
Examine the damaged area carefully. Check for moisture behind the tile using a moisture meter if possible. Measure the tile dimensions precisely (both length and thickness). Then source a replacement tile that matches the original in color, finish, and size. If you do not have spare tiles, check with Contigo Ceramics — our large-format porcelain and polished porcelain collections offer broad color consistency across production runs.
2. Remove the Damaged Tile
Use a grout saw or oscillating multi-tool to cut away the grout surrounding the damaged tile. Then drill a series of small holes in the center of the tile and use a chisel to break it outward toward the edges. Work carefully to avoid damaging adjacent tiles. Remove all pieces and clean out old thinset from the substrate.
3. Prepare the Substrate
The surface beneath the removed tile must be clean, dry, and level. Remove old adhesive, dust, and debris. If the substrate is gypsum-based and has been softened by moisture, cut back to sound material and patch with a suitable repair compound. Allow the patch to cure fully before proceeding.
4. Install the New Tile
Apply fresh thinset mortar to the substrate using a notched trowel. Press the new tile into place, ensuring it sits flush with the surrounding tiles. Use tile spacers to maintain consistent joint width. Allow the thinset to cure for 24 hours before grouting.
5. Grout and Seal
Apply grout to the joints around the replacement tile, working it in firmly. Wipe excess grout from the tile surface with a damp sponge. After the grout cures (per manufacturer instructions), apply a penetrating sealer to protect the grout and tile from moisture. This step is essential in bathrooms where humidity is high.
Choosing the Right Replacement Tile for a Seamless Finish
One of the biggest frustrations in bathroom tile repair is finding a tile that matches the original exactly. Even slight variations in shade, gloss level, or thickness become noticeable once installed. For this reason, always keep spare tiles from your original purchase stored in a dry, stable environment.
If you are ordering replacement tiles for an older installation, request a physical sample before ordering in bulk. At Contigo Ceramics, we provide sample tiles so you can verify the color match against your existing tile before committing to a full bathroom tile repair order. Our polished porcelain tiles and matte finish options are produced under strict quality controls, minimizing batch-to-batch variation.
Preventative Maintenance to Avoid Future Repairs
The best bathroom tile repair is the one you never have to do. Proper maintenance dramatically reduces the frequency and severity of tile damage in wet areas.
- Seal grout annually: Grout is the weakest link in any tile installation. A quality penetrating sealer applied once a year prevents moisture from seeping behind the tiles.
- Use exhaust fans: High humidity accelerates grout deterioration and promotes mold growth. Run the bathroom fan during and after showers to reduce moisture load.
- Address cracks immediately: A small crack in a tile or grout line will grow over time if left untreated. Early intervention with bathroom tile repair techniques is far less expensive than a full re-tile.
- Inspect caulk joints: Check the sealant around bathtubs, shower bases, and sinks every six months. Re-caulk when you see gaps or peeling to prevent water from penetrating behind the tile assembly.
According to the Tile Council of North America (TCNA), the leading cause of premature tile failure in wet areas is water intrusion through compromised grout or sealant joints. Annual maintenance of these vulnerable points can extend the life of a tile installation by decades.
Professional vs. DIY Bathroom Tile Repair: Which Is Right for You?
While a single tile replacement is well within the capability of a confident DIYer, certain situations demand professional hands. If you suspect water damage behind the tile, if multiple tiles are loose, or if the damaged area is near a plumbing penetration, hire a licensed tile contractor. The cost of professional bathroom tile repair is generally modest compared to the cost of repairing water damage to subfloors and framing from an improperly executed DIY fix.
For straightforward repairs on walls or floors where you have access to matching tiles and basic tools, the step-by-step method outlined above works well. Take your time, use the correct adhesives, and never skip the waterproofing or sealing steps.
Frequently Asked Questions
Can I perform bathroom tile repair without removing the old tile?
Small chips and hairline cracks can sometimes be filled with color-matched epoxy or tile repair compound. However, for loose tiles, hollow spots, or large cracks, full removal and replacement is the only reliable solution. Surface-only fixes fail quickly in the high-moisture bathroom environment.
How do I match a replacement tile for bathroom tile repair?
Measure the existing tile dimensions and note its surface finish (polished, matte, textured). For color matching, request a physical sample from a factory-direct supplier like Contigo Ceramics. Our large-format and polished porcelain tiles are manufactured to strict color tolerances, making it easier to find a match for older installations.
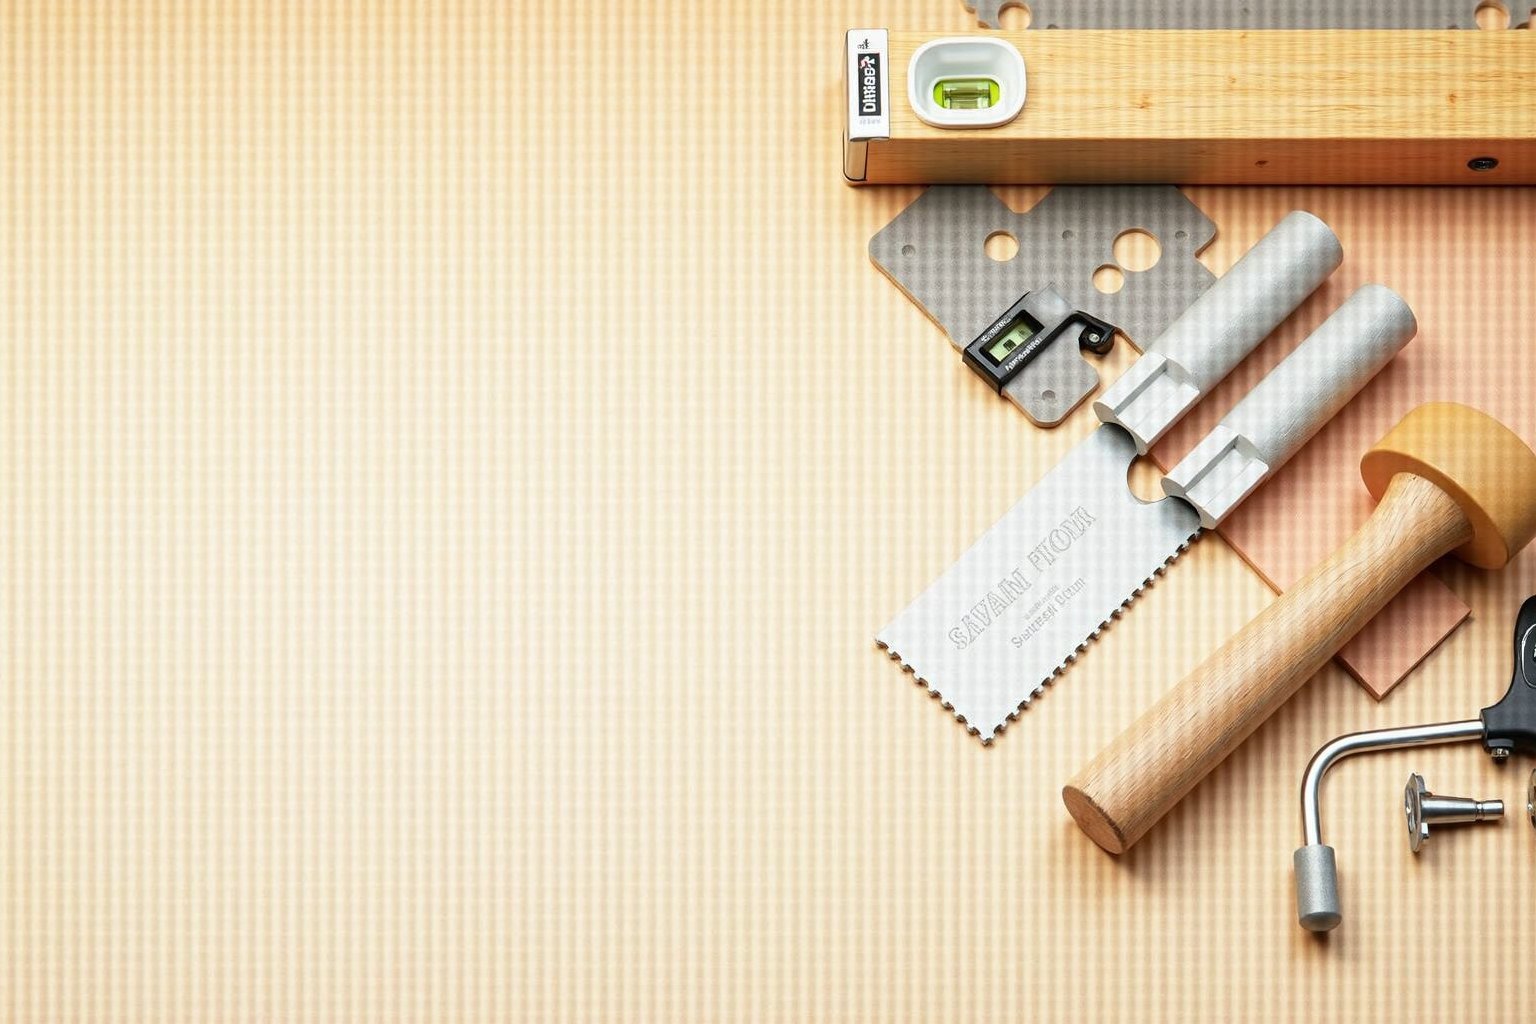
What tools do I need for basic bathroom tile repair?
You will need a grout saw or oscillating multi-tool, a hammer and cold chisel, tile adhesive (thinset mortar), a notched trowel, tile spacers, grout, a grout float, a sponge, and penetrating sealer. For cutting new tiles, a manual tile cutter or wet saw works for porcelain.
How long does bathroom tile repair take for a single tile?
The active work takes about 30-60 minutes for removal and installation. The thinset needs 24 hours to cure before grouting, and grout requires another 24 hours to harden before sealing. Plan for a minimum of two full days from start to finish for a single tile replacement.
Is bathroom tile repair different for floor vs. wall tiles?
The core process is the same, but floor tiles must withstand foot traffic and point loads, so proper thinset coverage and a solid substrate are even more critical. Wall tiles typically experience less stress, but you must ensure the new tile is fully supported by fresh adhesive to prevent sagging.
Conclusion: Get Your Bathroom Tiles Right with Factory-Direct Quality
Effective bathroom tile repair is about more than just filling a gap — it is about restoring the integrity of your bathroom’s waterproof envelope and maintaining the visual harmony of the space. Whether you are a contractor managing a renovation or a homeowner tackling a weekend project, using high-quality, color-consistent tiles makes the difference between a repair that blends in and one that stands out.
At Contigo Ceramics, we supply direct from our factory to your project, ensuring you get premium large-format porcelain, polished tiles, and outdoor-grade products at honest prices — with the consistency you need for seamless repairs. Browse our polished porcelain tile collection to find the perfect match for your next restoration, or contact our team for expert advice on sourcing replacement tiles for your specific project.