Address
No. 3F07, Tao Cube, No.68, CCIH, Jihua West Road,Chancheng District, Foshan City, Guangdong, China.

bathroom tile installation | Contigo Ceramics

Whether you are a contractor, architect, or a homeowner tackling a renovation, proper bathroom tile installation is the foundation of a durable and beautiful space. At Contigo Ceramics, we supply premium porcelain tiles directly from our factory in China, eliminating middlemen so you can achieve stunning results without overspending. This guide covers everything from surface preparation to grouting, helping you avoid common mistakes and ensure a long-lasting finish.
Key Takeaways
- Proper subfloor preparation prevents cracked tiles and water damage – always use a waterproof membrane.
- Choose porcelain tiles for high-moisture areas; polished and large-format options suit modern bathrooms.
- Use a notched trowel and back-butter tiles for full coverage, especially with large formats.
- Allow adequate curing time between steps: at least 24 hours before grouting, 72 hours before sealing.
- Factory-direct sourcing from Contigo Ceramics reduces material costs by 30-50% while maintaining consistent quality.
- Always order 10-15% extra tile to accommodate cuts, breakage, and future repairs.
Planning Your Bathroom Tile Installation
Successful tile installation begins long before you mix thinset. Planning includes selecting the right materials, evaluating the substrate, and designing the layout.
Choosing the Right Tile Material
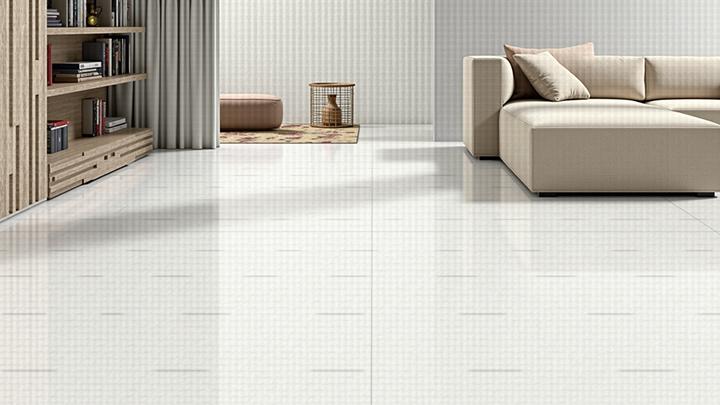
Porcelain tile is the preferred choice for bathrooms because of its low water absorption (below 0.5%) and high durability. Our polished porcelain tile offers a glossy, stone-like finish that resists stains, while large format tiles (up to 120×240 cm) reduce grout lines for a seamless look. For shower floors or accent walls, consider our mosaic collections.
Substrate Evaluation & Surface Preparation
Before starting, check the floor flatness. ANSI A108.02 recommends a maximum deviation of 1/8 inch in 10 feet. Use self-leveling underlayment if needed. Install a cementitious waterproof membrane over cement board for shower areas. This step is non-negotiable for any professional bathroom tile installation.
Essential Tools & Materials
- Notched trowel (size depends on tile dimensions)
- Tile cutter or wet saw
- Spacers (2-3 mm for rectified porcelain)
- Rubber float and grout sponge
- Thinset mortar (modified for porcelain, unmodified for epoxy grout)
- Waterproof membrane and sealant
According to the Tile Council of North America (TCNA), using a modified thinset for porcelain tile installation increases bond strength by up to 40% compared to unmodified dry-set mortars. TCNA Handbook
Step-by-Step Bathroom Tile Installation Process
1. Layout & Dry-Fit
Measure the room and find the center point. Snap chalk lines to create reference lines. Dry-fit a row of tiles to adjust spacing and avoid small cuts at walls. For large-format tiles, use a grid layout to maintain alignment.
2. Cutting Tiles
For straight cuts, a manual snap cutter works on most porcelain tiles. For L-shaped cuts around fixtures, use a wet saw with a continuous rim diamond blade. Always wear eye and ear protection.
3. Applying Thinset & Setting Tiles
Mix thinset according to manufacturer instructions. Apply with a notched trowel held at a 45-degree angle. For large-format tiles (over 30×60 cm), back-butter each tile to achieve 95-100% coverage. Press firmly and use a leveling system to avoid lippage.
4. Grouting & Sealing
Wait 24-48 hours for the thinset to cure. Remove spacers, then apply grout using a rubber float. Work diagonally to fill joints completely. After 15-20 minutes, wipe with a damp sponge. Once dry (another 24 hours), seal the grout and consider sealing the tile if it is a matte or textured finish. Our matt porcelain tiles benefit from impregnating sealers.
Common Mistakes in Bathroom Tile Installation
- Skipping waterproofing leads to mold and structural damage.
- Using the wrong trowel notch size causes hollow spots (larger tiles need a 1/2″ notch).
- Rushing cure times results in cracked tiles and loose grout.
- Not ordering extra tile – always add 10-15%.
- Grouting before the thinset is fully dry (minimum 24 hours).
Avoid these pitfalls by following the same standards used by professional tilers. For more detailed specs, refer to the Tile Council of North America guidelines.
Frequently Asked Questions
How long does a bathroom tile installation take?
A standard bathroom (40-60 sq. ft.) typically requires 2–3 days for preparation and installation, plus 2–3 days for curing and grouting. Professional bathroom tile installation can be faster if the substrate is already prepared.
What type of tile is best for a bathroom floor?
Porcelain tile is the top choice due to its low water absorption and durability. Large-format or textured matte finishes offer better slip resistance. Our factory-direct pricing makes premium large format tiles affordable for any project.
Can I install tile over existing tile in a bathroom?
Only if the existing tile is sound, flat, and clean. Even then, it is not recommended for floors because the added height can cause problems with drains and thresholds. For bathroom tile installation, it is safer to remove old tile first.
Do I need to seal porcelain tile in a bathroom?
Porcelain tile is naturally impervious, but sealing is recommended for matte finishes and grout lines to prevent staining. Our matt porcelain tile benefits from a penetrating sealer applied before use.
What grout should I use for a shower floor?
Epoxy grout is ideal for wet areas because it is stain-resistant and non-porous. For wall tile, a high-quality cementitious grout with polymer additive also works well.
External Reference: ANSI A108 tile installation standards
Conclusion
A successful bathroom tile installation depends on careful preparation, the right materials, and proper technique. By following the steps outlined above, you can achieve results that rival professional work. And when you source your tiles directly from Contigo Ceramics, you get consistent, high-quality porcelain at factory prices – with global shipping available. Contact our team for a custom quote on tiles for your next project, or browse our catalog of polished porcelain tiles, mosaics, and outdoor collections.